Docker Quick Start
Get Bliss running locally in under 5 minutes.
Prerequisites
- Docker and Docker Compose installed
- No other services on ports 8080, 3000, 3001, or 5432
Start everything
git clone https://github.com/danielvsantos/bliss.git && cd bliss
./scripts/setup.sh          # prompts for LLM provider, generates secrets, creates .env
docker compose up           # pulls images and starts all 5 services
During setup.sh you’ll be asked to pick an LLM provider (Gemini / OpenAI / Anthropic) and paste its API key. An LLM is required for AI classification and financial insights — without one, new transactions won’t be auto-categorized. You can skip the key prompt and add it to .env later, but the app will run in degraded mode until you do. See Choosing Your External Services for the comparison.
Open http://localhost:8080 once all containers are healthy. The database is auto-migrated and seeded with reference data (countries, currencies, banks) on first boot.
Contributing? Use
docker compose up --buildto build images from source instead of pulling from Docker Hub. This lets you test your local code changes.
Create your account
- Click Sign Up and fill in email, password, and tenant name (this is your workspace).
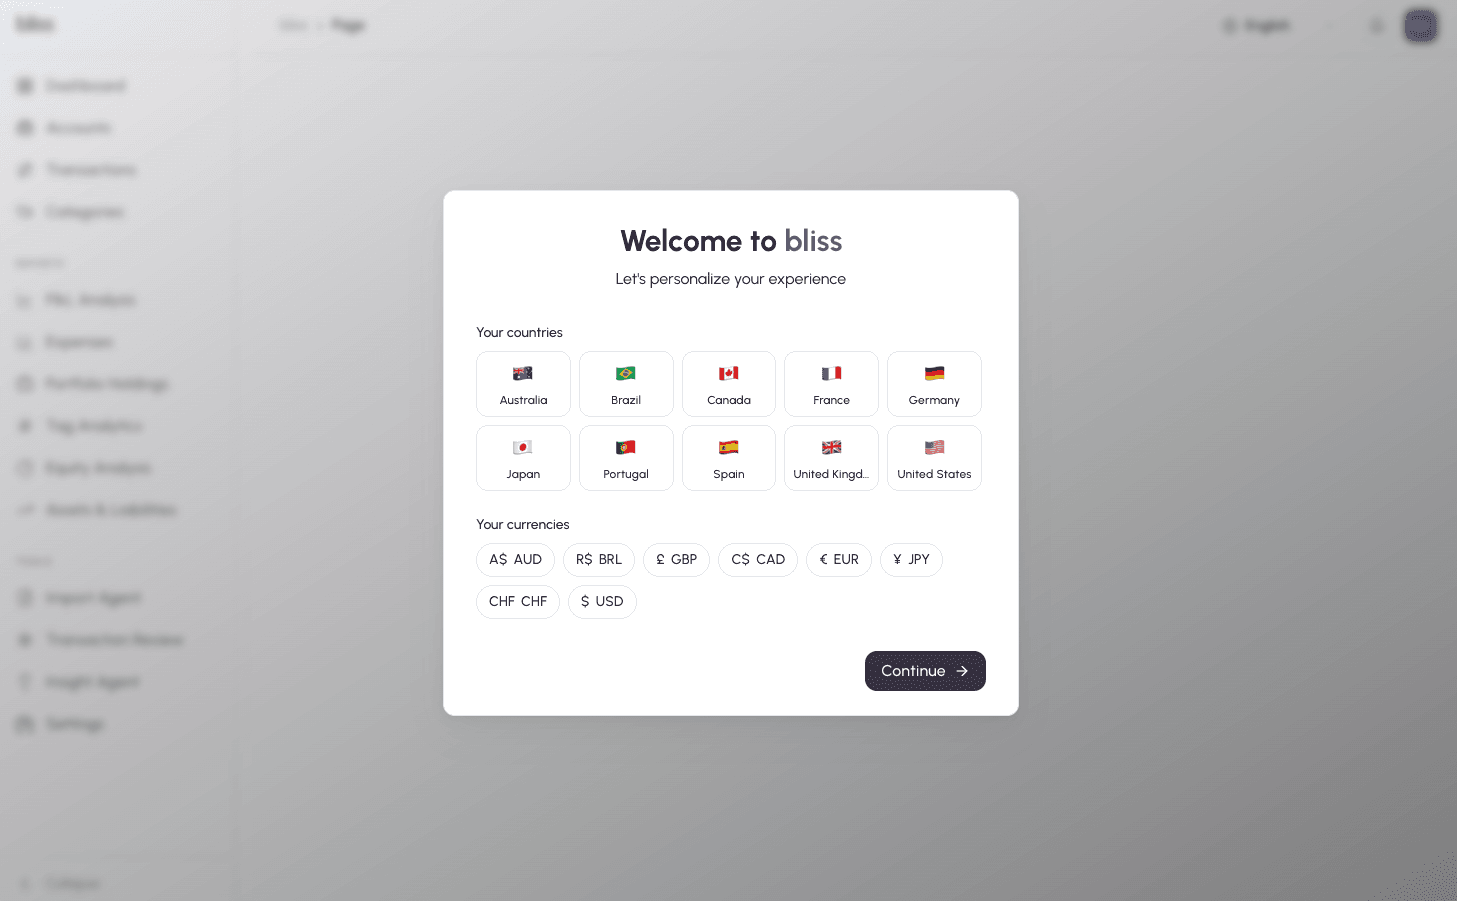
- The onboarding wizard asks you to select your countries and currencies.
- After onboarding, you land on an empty dashboard.
What’s running
| Container | Port | Role |
|---|---|---|
web (Nginx) | 8080 | Serves the React SPA |
api (Next.js) | 3000 | Auth, REST API, Prisma ORM |
backend (Express) | 3001 | BullMQ workers, AI pipelines |
postgres | 5432 | PostgreSQL 16 + pgvector |
redis | 6379 | Job queues + cache |
Data persistence
Your data lives in Docker named volumes (postgres_data, redis_data, uploads_data). It survives docker compose stop and docker compose down. Only docker compose down -v destroys volumes.
Database GUI
Adminer is included at http://localhost:8888 . Log in with system PostgreSQL, server postgres, username bliss, and the POSTGRES_PASSWORD from your .env.
Google OAuth
Google Sign-In is optional. Email/password sign-in works in all configurations. To enable Google OAuth:
- Create OAuth 2.0 credentials in Google Cloud Console .
- Add
<NEXTAUTH_URL>/api/auth/callback/googleas an Authorized Redirect URI. - Set
GOOGLE_CLIENT_IDandGOOGLE_CLIENT_SECRETin.env.
HTTPS is required. Google’s OAuth policy does not allow plain-HTTP redirect URIs (the only exception is http://localhost for development). For a self-hosted deployment to support Google Sign-In, it must run behind HTTPS. Email/password sign-in is not affected and works over HTTP.
Local Development (Without Docker)
If you prefer running services directly for development:
Prerequisites
| Dependency | Version | Notes |
|---|---|---|
| Node.js | 20+ | LTS recommended |
| pnpm | 9+ | corepack enable && corepack prepare pnpm@latest --activate |
| PostgreSQL | 16+ | Must have the pgvector extension |
| Redis | 7+ | Used by BullMQ for job queues |
Installing pgvector
macOS (Homebrew):
brew install pgvectorUbuntu / Debian:
sudo apt install postgresql-16-pgvectorAfter installation, enable the extension inside your database:
CREATE EXTENSION IF NOT EXISTS vector;Setup
git clone https://github.com/danielvsantos/bliss.git && cd bliss
cp .env.example .env
./scripts/setup.sh          # generates secrets
pnpm install
Edit .env and set DATABASE_URL and REDIS_URL for your local setup.
createdb bliss
psql bliss -c 'CREATE EXTENSION IF NOT EXISTS vector;'
pnpm exec prisma migrate deploy --schema=prisma/schema.prisma
pnpm exec prisma db seed
pnpm dev # starts all services| Service | Port |
|---|---|
| Frontend (Vite) | 8080 |
| API (Next.js) | 3000 |
| Backend (Express + BullMQ) | 3001 |
Troubleshooting
pgvector extension not found — Connect to your database and run CREATE EXTENSION IF NOT EXISTS vector;. If this fails, pgvector is not installed at the system level (see prerequisites above).
Port conflicts — The defaults are 8080, 3000, 3001, and 5432. Make sure nothing else is bound to those ports.
Redis connection refused — Verify Redis is running and REDIS_URL in .env points to the correct host.
Prisma migration issues — Reset the database during development with pnpm exec prisma migrate reset --schema=prisma/schema.prisma (destroys all data).
Next steps
- Choosing Your External Services — required for AI classification and insights (Gemini, OpenAI, or Anthropic)
- Initial Account Setup — set up accounts, banks, and categories
- Choosing Your External Services — configure Twelve Data (stock prices + FX rates, via
CURRENCY_PROVIDER) and Plaid - Import transactions — bring in your CSV/XLSX data
- Connect a bank — automatic sync with Plaid